Attaching the Watch Hands
- We know how important this step is, so we’ve included an extra set of hands—just in case.
Components:
- Dial with attached movement
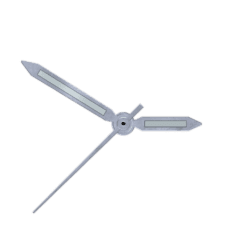
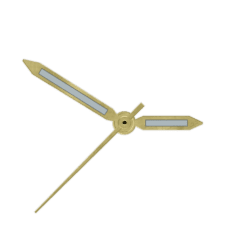
- Hour, minute, and second hands
Tools:
- Watch pad – to safeguard the movement.
- Hands pressers – with color-coded tips for precision and control.
- Loupe and ring – to magnify your view and achieve perfect alignment.
- Tweezers – for careful placement.
- Rodico and cleaning cloth – to ensure your dial and hands are pristine.
Steps:
- Rotate the movement stem until the hour hand is aligned just after the date switches at midnight.
- Using your tweezers, gently position the hour hand at 12 o’clock, then press it firmly in place with the black-tipped hand presser, applying just enough pressure as if you’re writing with a pen.
- Rotate the stem again to ensure smooth movement.
- Next, align and secure the minute hand at 12 o’clock, using the same precision and technique.
- Shift the hour hand to 1 o’clock and prepare to attach the second hand. This step requires close attention, so use the loupe to perfectly align the second hand on the central pin of the movement.
- Carefully press the second hand into place using the white-tipped presser, ensuring a smooth and delicate fit.
Tip: Ensure the hands don’t rub against each other during movement by adjusting the stem. Now, with the most intricate step complete, feel the pride in knowing you’ve successfully brought your creation to life!
Troubleshooting (Optional):
- For those extra careful moments, we’ve included instructions to remove the hands if needed. You’ll need two hand lifters and a protective plastic sheet to avoid scratching the dial.